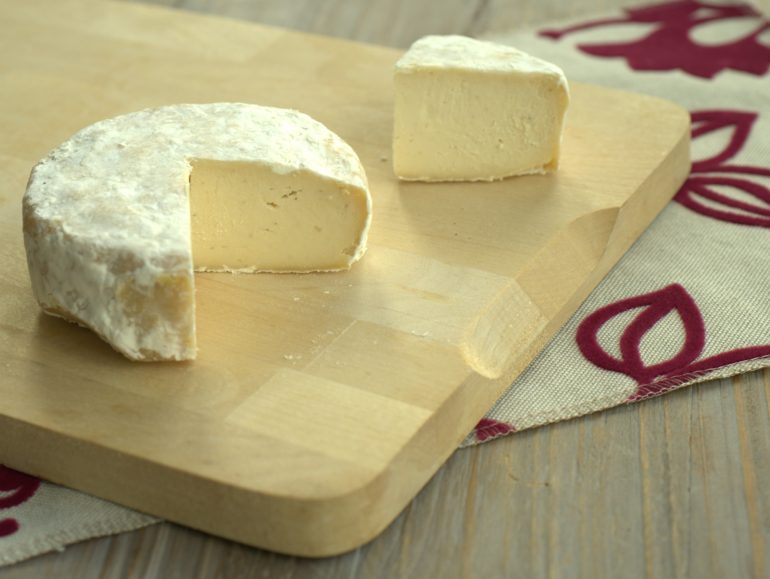
Air-Dried Cashew-Millet Cheese, Geotrichum Culture
Ingredients
1/4 cup millet or basmati rice
1/2 cup water
1 cup unroasted cashew nuts
2 tablespoons neutral flavored coconut oil, melted
1-2 tablespoons (shiro) miso
1 tablespoon vegan yogurt or a probiotic capsule (or leave this out and replace the water with rejuvelac)
1 dessert fork tip of geotrichum candidum powder (optional)
1/2 cup water, or slightly more if the mixture is too dry for blending
1/2 teaspoon seasalt + extra
Cornstarch, tapioca starch or potato starch
Wood ash for food purposes (optional, see variation)
Directions
Make the cheese mixture
Put the millet in a small pot with the 1/2 cup of water. Bring to a boil, cover with a lid and simmer for 15 minutes untill the millet is soft and the water has been absorbed. In the mean time, also boil the cashews for 10 minutes in a generous amount of water so they get soft and any unwanted fungi spores are killed. Let the millet and cashews cool to room temperature.
Add the cooked millet, cashews, coconut oil, miso, yogurt, geotrichum candidum, water en salt to the mixing bowl of your blender or foodprocessor. Blend into a smooth mass, while adding as little extra liquid as possible.
The fermentation
Transfer the cheese mixture to a plastic or glass container and let it ferment for about 24 hours. Bubbles will form and the mixture will get a slightly yeasty smell and sour flavor. It will not taste very good at this point, but that will improve with aging. Stir the cheese to release the air bubbles and refrigerate overnight so it can firm up.
Now it's time to shape the cheese. Cover your work surface with plastic wrap and put a generous amount of corn starch on it. Scoop half of cheese mixture onto the cornstarch and sprinkle more cornstarch on top. Use the plastic wrap and your hands to shape the cheese into a little wheel.
Cut a ribbon of parchment paper and roll it around the cheese to keep the edges nice and straight. Fasten it with a piece of string. Transfer the cheese to a small piece of parchment paper so it is easier to move around. Repeat these steps with the other half of the cheese mixture, so you get two small wheels.
The drying
Cover the bottom of a plastic container with two layers of paper towel and put the cheeses with their parchment paper on top. Cover the cheeses with another two layers of paper towel and put them in the fridge to dry. Do not cover with a lid, because that will prevent proper drying.
Allow the cheeses to dry and ripen in the fridge for four to five weeks. Turn them over every day. Sprinkle them with a little salt the first time you turn them. If you want, you can do this again later for a saltier cheese. Take care to work cleanly and wash your hands before touching the cheeses. Replace the towels and parchment paper if they start to get very wet (or switch the top and bottom ones, so they can dry).
After a few days, the cheese will be firm enough that you can remove the parchment paper around that is tied around the edges. Keep the parchment paper underneath the cheese though, to prevent it from sticking to the towel. A thin layer of white mold may start to grow on the cheese (this is the geotrichum), but it can be hard to tell because of the starch. You should not have other colors of mold such as pink, orange, black or blue.
After four to five weeks the cheese is ready for a first tasting. If you want, you can also try to age it longer so the flavors become even stronger. Once cut, the cheese will keep for another 2-3 weeks. Store it in a closed container.
Variation: ash cheese
If you have wood ash for food purposes (also available from Cashewbert), you can sprinkle this on the cheese layers during shaping to get a marbled look. This looks awesome, but I don't find it adds a lot of flavor.